

Everything you need to know about Roomba remapping
Mapping is an essential part of your Roomba’s ability to navigate your home. But if you rearrange furniture or move other items around, your robot vacuum can get confused if it tries to follow its old map. That’s why it helps to know how to get a Roomba to remap a room, so it can keep cleaning your floors without any issues.
Here at BestReviews, we’ve tested many Roomba models and conducted extensive research to help you learn the easiest way to get your Roomba to remap your home. Fortunately, the process is pretty simple, so your robot will be back to cleaning every area of your home in no time.
Step 1: Charge your Roomba fully
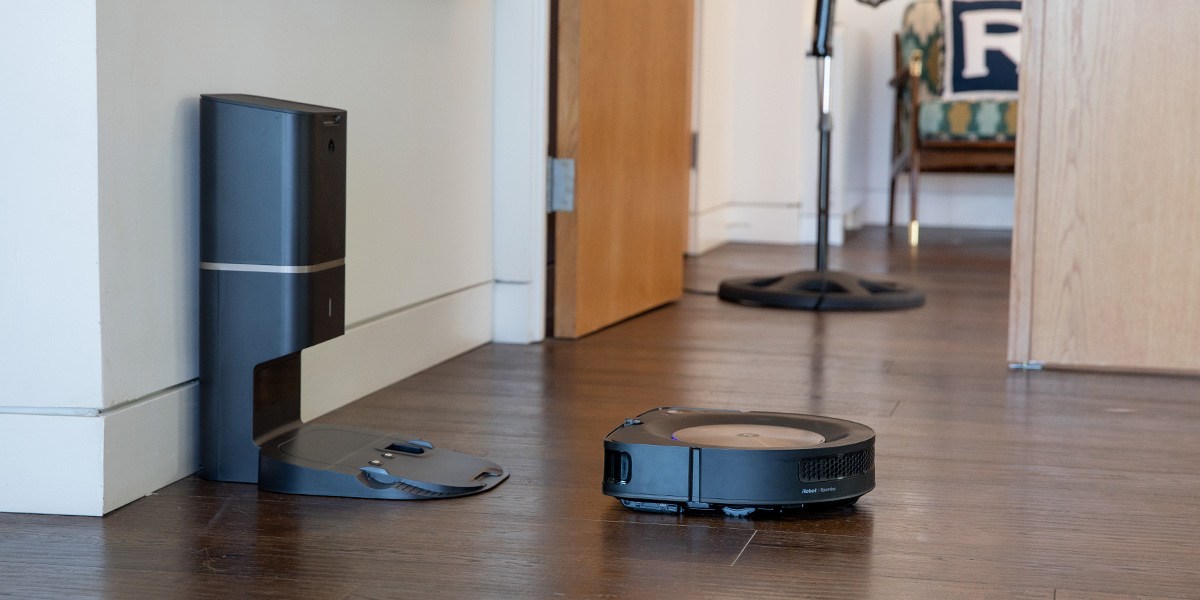
While a Roomba doesn’t use as much battery life while mapping as it does when vacuuming, it still takes some time for the robot to fully map a room. In fact, it usually takes at least two mapping runs for a Roomba to accurately map a space. That’s why you should set your robot in its base to charge completely before you begin the remapping process.
Step 2: Open the iRobot Home app
You need the iRobot Home app to access many of your Roomba’s features, including mapping. If you have multiple robots, scroll to the model whose map you want to update.
Step 3: Tap the map icon
The iRobot app has a small Map icon just below the Roomba product image on the right side. When you click it, the app opens a list of all the current maps for the robot, so you can see the existing map for the room you want to remap.
Step 4: Select the “+” icon to add a new map
In addition to a list of all your Roomba’s current maps, you’ll see a “+” icon at the top right-hand corner of the app’s Map tab. This icon allows you to add a new map for your Roomba. Some models can remember multiple smart maps, but others can only save one. If your Roomba can only remember one map, you’ll need to delete the old map when you add a new one.
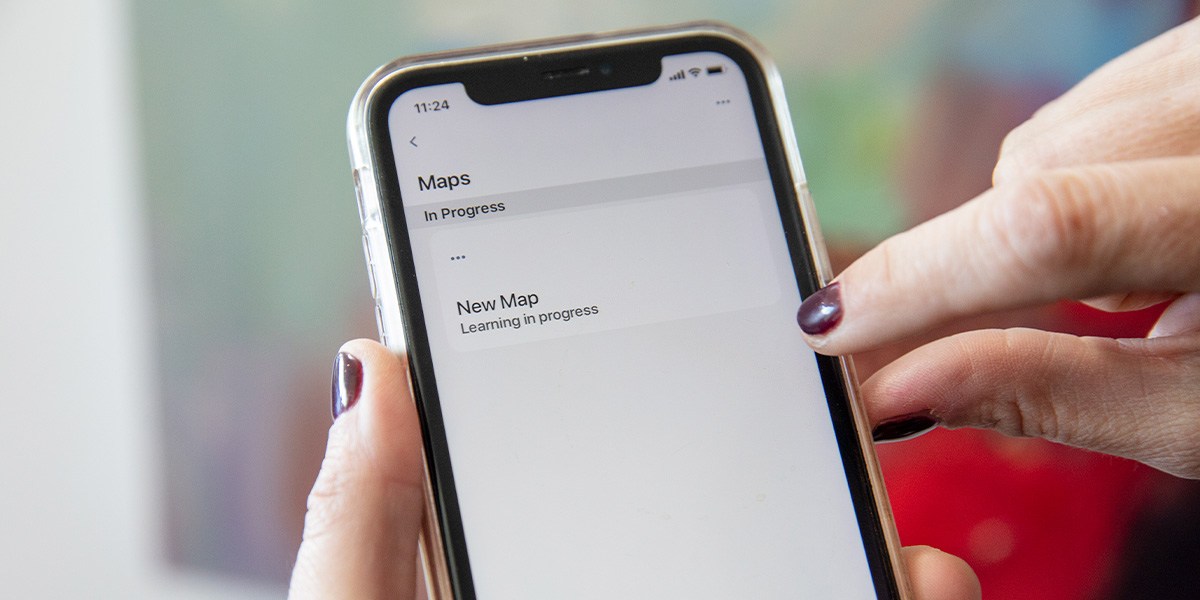
Step 5: Click “Start mapping run”
After you select the option to add a new map, the iRobot app provides tips to help your Roomba with the process, such as making sure the lights are turned on and obstacles are removed from the floor. When you’re ready to send the robot out, press the “Start mapping run” button.
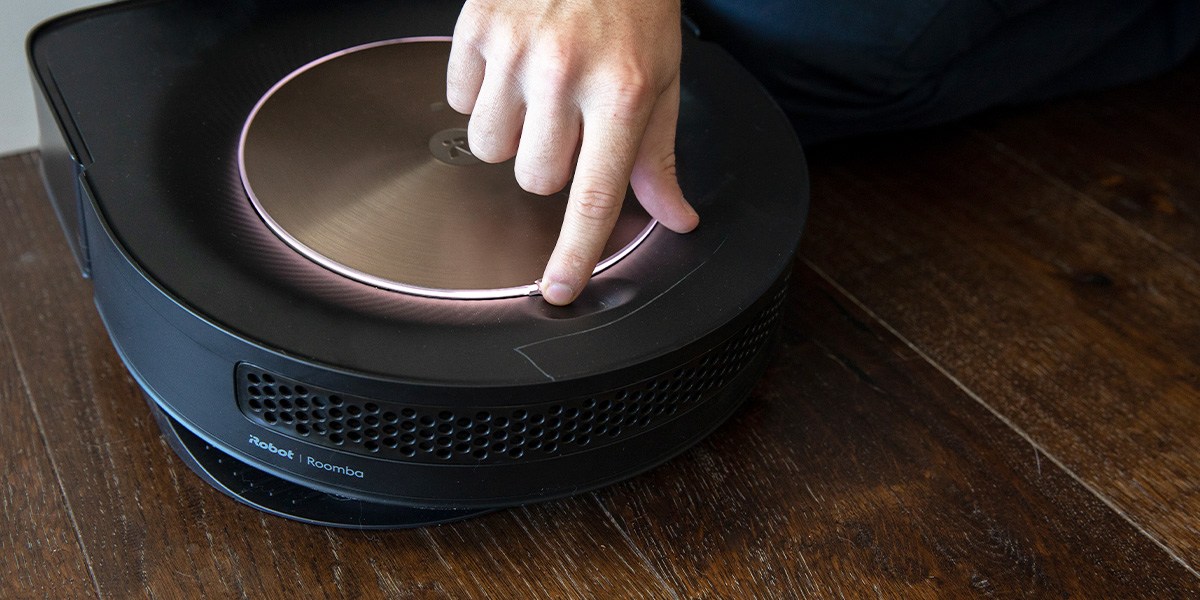
Your Roomba will leave its base — or the spot where you place it for mapping (it doesn’t necessarily have to start in the base) — and begin the mapping process. During the mapping run, the robot concentrates on exploring the space rather than cleaning your floors, so it can work more efficiently.
Step 6: Repeat the process
After your first mapping run, the new map of your room may not be entirely accurate. That’s because your Roomba may need up to five mapping runs to accurately remap your room. Depending on how much battery power it used during the first run, you may want to let it charge before sending it out on another run. If it has enough power, you can send it out immediately and let it map the area again to fully capture all the room’s details.
Do all Roombas have mapping features?
Unfortunately, not all Roombas have mapping features. Entry-level models like the 500, 600, 700, 800 and e series can’t learn and remember your home’s floor plan.
However, while Roombas from the 960 model and later offer mapping abilities, not all of these robots actually remember your home’s floor plan and store it. For example, while the Roomba i1 produces a map after vacuuming to show you where it cleaned, it doesn’t remember the information, so it automatically creates a new map of your home every time it vacuums. This is what iRobot calls “clean mapping.”
On the other hand, models like the i3 EVO, i7, i8, j7 and s9 all feature smart mapping, which allows them to store a room’s map for future vacuuming runs. The i3 EVO can only store one smart map, while the i7, i8, j7 and s9 can store up to 10 maps.
In addition to smart mapping, the Roomba j series, including the j7, j7+ and j7+ Combo, also features obstacle avoidance. These robots have a front-facing camera that allows them to “see” obstacles in their path before they hit them. That means you may not have to remap an entire room if you’ve added just one new piece of furniture or decor since your Roomba can avoid it even if it hasn’t previously mapped it.
Roomba mapping not working
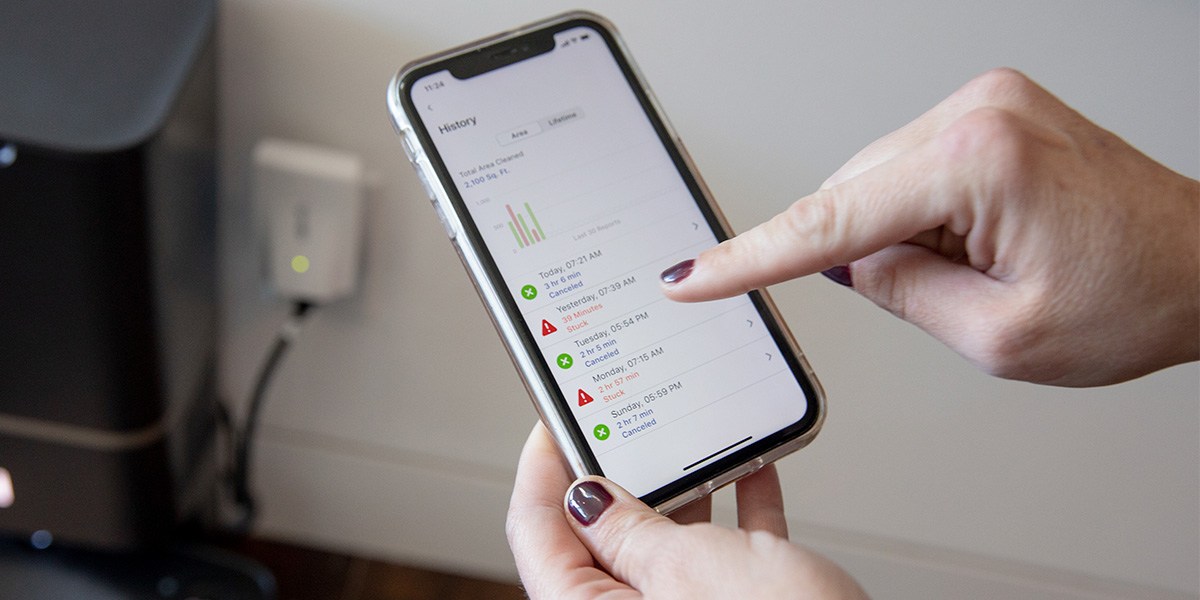
Don’t worry if your Roomba’s smart map doesn’t update right after a mapping run. It can take up to five mapping or vacuuming runs before it remembers a new map, so it may not appear in the app after your first attempt at remapping.
However, a reboot may be necessary if your Roomba has gone out for five mapping runs and still isn’t displaying the new smart map. You can easily reboot your robot through the iRobot Home app by selecting the Product Settings tab at the bottom of the page and clicking the Reboot option. When you press the button, the reboot process begins on the robot, taking a few minutes to fully reset the Roomba. Close the iRobot app, and reopen it to see if your new smart map appears.
How often should you have your Roomba remap a room?
You really only need to remap a room if the existing map is inaccurate or you move furniture and other items around. Your Roomba automatically updates its smart maps with repeated cleaning runs, so if you only move a single item, you don’t necessarily need to manually remap the room. The robot will learn the new layout within several cleaning runs and alert you via the app to the updated smart map once it’s ready.
How to add or delete a room from your smart map
If your Roomba has already mapped a floor but didn’t have access to all of the rooms, you can send it out on a mapping run to learn the missing room.
To start, ensure that the door to the room you want to add is open and nothing is blocking the robot from entering it. Contrary to what you may think, you should not start your Roomba directly inside the room you want to add. Allow it to remap the entire floor, so it can learn where the new area fits with the rest of the floor plan. Afterward, your smart map should automatically update with the new room added.
You can edit your Roomba’s smart maps to rename rooms or move dividers, but there isn’t a way to delete a room from the map. If your robot adds a room that doesn’t exist to its smart map, your best bet is to remap the entire floor to replace the existing map with a more accurate layout.
Roomba remapping made easy
When your Roomba knows your home’s floor plan, it can clean more thoroughly and efficiently. Its smart maps will update automatically, but it can take several cleaning runs. If you move furniture around in a room or buy new pieces, it helps to be proactive and remap the room right away, so your Roomba doesn’t miss a beat when it’s time to clean.
Want to shop the best products at the best prices? Check out Daily Deals from BestReviews.
Sign up here to receive the BestReviews weekly newsletter for useful advice on new products and noteworthy deals.
Jennifer Blair writes for BestReviews. BestReviews has helped millions of consumers simplify their purchasing decisions, saving them time and money.
Copyright 2023 BestReviews, a Nexstar company. All rights reserved.

